

How To Make Rhinestone Template For Iron On Transfer
Creating your own rhinestone transfer can seem like an intimidating process. Rhinestone designs are a little more complex than creating simple vector artwork. Nonetheless, with the employ of Rhinestone software (which we provide), it's really non too difficult! In this blog, we will give you step-by-footstep instructions on how to create your very own rhinestone transfer!
Keep in mind that when creating your ain transfer, it can be difficult to employ more than than one color of rhinestone. If yous're looking to do create a large design, or one that may need more than than one colour, nosotros do provide the option of Custom Rhinestone Transfers, in which you provide us with artwork and nosotros create the transfer for you!
To larn most Custom Rhinestone Transfers, y'all can refer to our blog: All Nigh Custom Rhinestone Transfers
What will you need?
- Rhinestone software
- Vinyl Cutters
- Estrus Presses
- Hot set rhinestones
- Flock (large enough for your pattern - we used Template Flock)
- KTM (rhinestone transfer) masks
- Rhinestone template board
- Rhinestone brush
- Tweezers
- Squeegee
Once you accept your pattern prepared, you're ready to begin.
Steps
ane) Load your flock in the cutter (face up).
2) Export your rhinestone blueprint to your preferred cutting software and send to your cutter. Normally, template flock is cut at at a heavier pressure and uses a 60 degree bract.
3) Pare the flock from its liner. This will reveal the holes that you lot have cutting in your cutter, which will act as your stone placements.
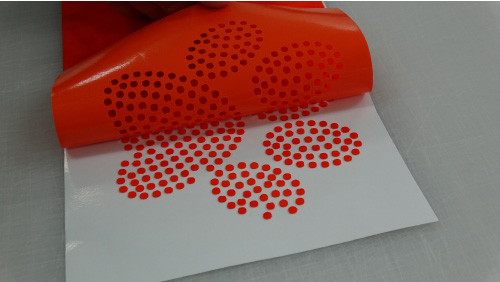
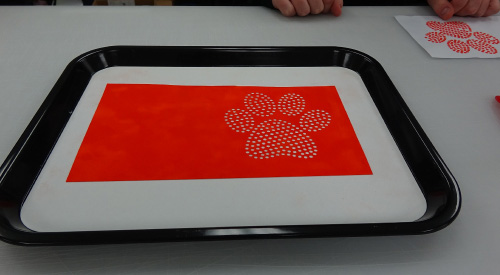
iv) Place the flock (sticky side downwardly) on your template board.
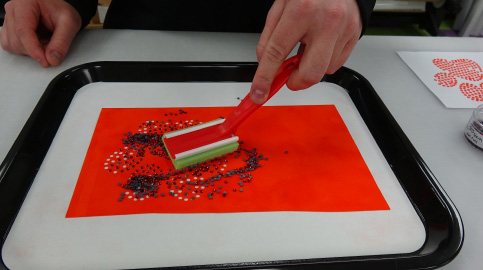
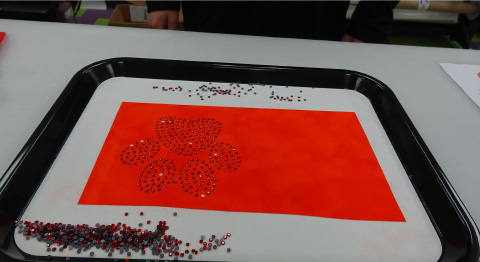
5) Cascade rhinestones on your board and gently brush the rhinestones across your pattern using a rhinestone castor. Do this until they each have a spot in one of the stone placement holes in your flock. Frequently, many of the rhinestones volition autumn into the holes the proper way. However, some stones will likely fall upside downwards, or may too stubborn to even fall into a hole. In that case, a tweezers may exist needed to properly place some rhinestones in their place.


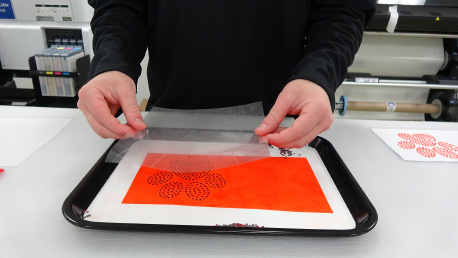
6) Now that your stones are in place, take hold of your KTM (rhinestone transfer) mask and peel information technology off its liner. Place information technology (advisedly!) on superlative of the rhinestone design.
7) Employ business firm pressure beyond the entire design to ensure that the rhinestones stick to the KTM mask. For smaller designs, you lot can utilize your paw; however, for larger designs nosotros recommend using a squeegee.
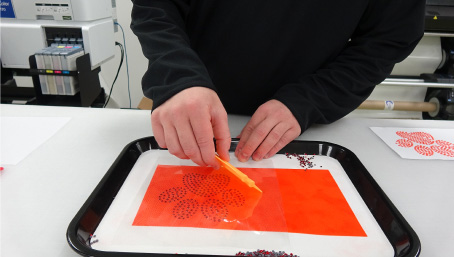
8) Pare the KTM mask away from the flock in a shine motion. If you discover that not all rhinestones are sticking to the KTM mask, simply lay the mask dorsum down and utilize more than pressure in that expanse.
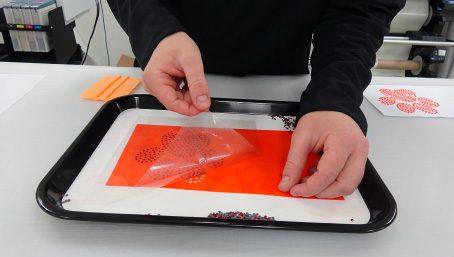
9) Now that your rhinestone pattern is on the KTM mask, if you lot aren't ready to printing your design, identify the mask dorsum on its liner and relieve until you lot're gear up to press. You may notice that the orangish fibers from the template flock are sticking to the KTM mask. No worries, these orange fibres will not stick to your garment when pressing! If you are ready to printing, go to the next pace.
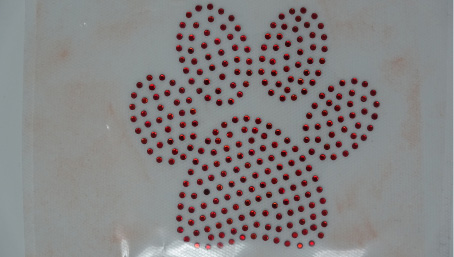
x) Place your design on your garment and press at 305 degrees for ten-fifteen seconds. It is very important to peel Cold!
And you're washed! Congratulations – y'all've officially created your own rhinestone transfer! If you decide to create your ain rhinestone transfer, brand sure to share it with us on our Facebook page!


How To Make Rhinestone Template For Iron On Transfer,
Source: https://www.heattransferwarehouse.com/blog/how-to-create-a-rhinestone-transfer/
Posted by: maggardrembed83.blogspot.com
0 Response to "How To Make Rhinestone Template For Iron On Transfer"
Post a Comment